Installing an Omron PLC (Programmable Logic Controller) might seem like a daunting task, especially if you're new to industrial automation. However, with the right guidance and a systematic approach, the installation process can be straightforward and efficient. As an Omron PLC supplier, I'm here to walk you through the steps of installing an Omron PLC, from preparation to the final setup.
Step 1: Pre - installation Preparation
Before you start the actual installation, it's crucial to gather all the necessary tools and materials. You'll need a screwdriver, wire strippers, a multimeter for electrical testing, and of course, the Omron PLC unit itself. Make sure you have the appropriate power supply for the PLC. Different models may have different power requirements, so refer to the user manual for the specific model you're working with. For example, the CP1H - X40DR - A Omron has its own set of power specifications that must be met.
Also, plan the physical location where you'll install the PLC. It should be in a clean, dry, and well - ventilated area, away from sources of excessive heat, moisture, and electrical interference. The location should also be easily accessible for future maintenance and troubleshooting.
Step 2: Mounting the PLC
Once you've chosen the location, it's time to mount the PLC. Most Omron PLCs come with mounting brackets that allow for easy installation on a DIN rail. Use the screwdriver to secure the PLC to the DIN rail firmly. Ensure that the PLC is level and properly aligned on the rail to prevent any mechanical stress on the unit.
If you're using a larger Omron PLC system, you may need to install multiple units side by side. In this case, make sure there is enough space between the units for proper ventilation and cable management.
Step 3: Wiring the PLC
Wiring is a critical step in the installation process. Start by identifying the input and output terminals on the PLC. The input terminals are used to connect sensors and other devices that provide information to the PLC, while the output terminals are used to control actuators such as motors, solenoids, and relays.
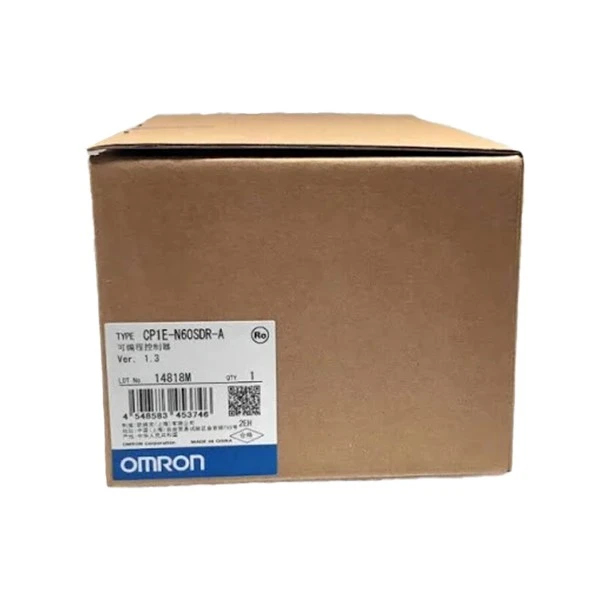
Refer to the wiring diagram provided in the user manual for your specific Omron PLC model. For instance, the Omron CP1E - N60SDR - A has a detailed wiring diagram that shows how to connect the power supply, input devices, and output devices correctly.
When wiring, use the wire strippers to strip the insulation from the wires to the appropriate length. Connect the wires to the terminals firmly, ensuring that there are no loose connections. Use the multimeter to test the continuity of the wires and to check for any short circuits.
Step 4: Connecting the Power Supply
Connect the power supply to the PLC according to the manufacturer's instructions. Make sure to use the correct voltage and current ratings for the PLC. Some Omron PLCs can accept a wide range of input voltages, while others have specific requirements.
Before powering on the PLC, double - check all the connections to ensure they are secure. Once you're confident that everything is connected correctly, turn on the power supply. The PLC should power up, and the status LEDs on the unit should indicate that it is functioning properly.
Step 5: Configuring the PLC
After the PLC is powered on, you need to configure it to meet your specific application requirements. This involves setting up parameters such as the communication protocol, input/output settings, and programming the logic.
To configure the PLC, you'll need to use Omron's programming software, such as CX - Programmer. Install the software on a computer and connect the computer to the PLC using a serial or Ethernet cable, depending on the communication interface of the PLC.
Open the programming software and establish a connection to the PLC. You can then start configuring the PLC by setting up the input/output addresses, defining the communication settings, and programming the logic using ladder diagrams or other programming languages supported by the PLC.
Step 6: Testing the PLC
Once the PLC is configured, it's time to test it. Start by running some basic tests to ensure that the input and output functions are working correctly. You can use a simple test program to check if the PLC is receiving input signals from the sensors and sending output signals to the actuators.
For example, if you have a sensor connected to an input terminal, you can trigger the sensor and check if the corresponding input status LED on the PLC lights up. Similarly, you can send an output signal to an actuator and check if it responds as expected.
If any issues are detected during the testing phase, refer to the troubleshooting section of the user manual or contact Omron's technical support for assistance.
Step 7: Finalizing the Installation
After the PLC has passed all the tests, you can finalize the installation. Secure all the cables and wires to prevent them from being accidentally disconnected. Label all the input and output connections for easy identification in the future.

Also, make sure to document the installation process, including the configuration settings, wiring diagrams, and test results. This documentation will be useful for future maintenance and troubleshooting.
Conclusion
Installing an Omron PLC is a multi - step process that requires careful planning, proper wiring, and accurate configuration. By following the steps outlined in this guide, you can ensure a successful installation of your Omron PLC.
If you're in the market for an Omron PLC or need further assistance with installation, configuration, or troubleshooting, we're here to help. As a reliable Omron PLC supplier, we offer a wide range of Omron PLC models, including the CP1H - X40DR - A Omron, Omron CP1E - N60SDR - A, and Omron CP1E - E30SDR - A. Contact us to discuss your specific requirements and start your automation project today.
References
- Omron CP1H - X40DR - A User Manual
- Omron CP1E - N60SDR - A User Manual
- Omron CP1E - E30SDR - A User Manual
- CX - Programmer Software Documentation


