


Installing a Siemens PLC can seem like a daunting task, especially for those who are new to the world of industrial automation. As a Siemens PLC supplier, I've had the privilege of guiding numerous customers through the installation process. In this blog post, I'll share a step - by - step guide on how to install a Siemens PLC, covering everything from preparation to the final testing phase.
1. Preparation
Before you start the installation, it's crucial to make thorough preparations. This includes gathering all the necessary tools and materials, as well as familiarizing yourself with the PLC model you'll be working with.
Tools and Materials
- Hardware Tools: You'll need basic hardware tools such as screwdrivers (both flat - head and Phillips), pliers, wire strippers, and a drill if you need to mount the PLC on a panel.
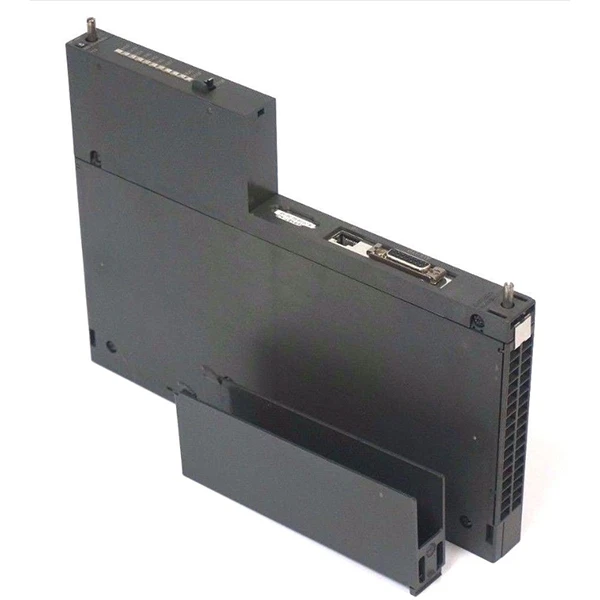
- PLC and Accessories: Of course, you'll need the Siemens PLC itself. For example, the Simatic S7 - 1500 Plc 6ES75 is a popular choice in many industrial applications. Along with the PLC, you'll need power supplies, communication modules like the Siemens 6GK7443 - 1EX11 - 0XE0, and input/output (I/O) modules. You may also need Ethernet cables, power cables, and terminal blocks.
- Software: Install the appropriate programming software on your computer. For Siemens PLCs, this is typically TIA Portal. Make sure your computer meets the system requirements for the software.
Familiarize with the PLC
- Read the Manual: The user manual that comes with the PLC is your best friend. It provides detailed information about the PLC's features, specifications, and installation requirements.
- Understand the System Architecture: Know how the different modules fit together and how they communicate with each other. This will help you plan the installation layout.
2. Mounting the PLC
The next step is to mount the PLC in a suitable location.
Select a Mounting Location
- Environmental Conditions: Choose a location that is protected from dust, moisture, and extreme temperatures. The PLC should be mounted in a clean and dry environment to ensure its long - term reliability.
- Accessibility: Make sure the location allows easy access for maintenance and programming. You should be able to reach the PLC's ports, switches, and modules without any difficulty.
Mounting the PLC
- Panel Mounting: If you're mounting the PLC on a panel, use the appropriate mounting brackets. Make sure the brackets are securely attached to the panel, and then attach the PLC to the brackets using the provided screws.
- DIN Rail Mounting: Many Siemens PLCs can be mounted on a DIN rail. Slide the PLC onto the DIN rail and secure it using the locking mechanism.
3. Wiring the PLC
Wiring is a critical step in the installation process. Incorrect wiring can lead to malfunctions or even damage to the PLC.
Power Wiring
- Power Supply Connection: Connect the power supply to the PLC according to the manufacturer's instructions. Make sure to use the correct voltage and polarity. For example, if the PLC requires 24V DC power, ensure that the power supply provides the correct voltage.
- Grounding: Proper grounding is essential for the safety and proper operation of the PLC. Connect the grounding terminal of the PLC to a reliable ground source.
Communication Wiring
- Ethernet Connection: If you're using Ethernet communication, connect the Ethernet cable from the PLC's Ethernet port to your network switch or router. You may need to configure the IP address of the PLC in the programming software.
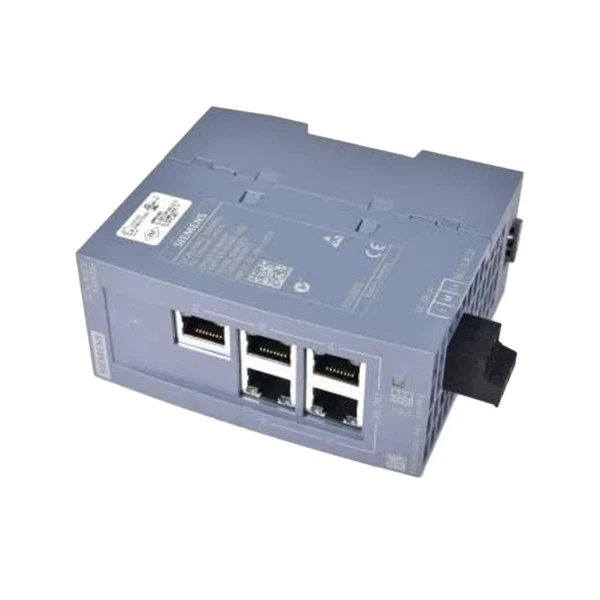
- Other Communication Modules: If you're using other communication modules like the 6GK5005 - 0BA00 - 1AB2 Siemens, follow the specific wiring instructions for those modules.
I/O Wiring
- Input Modules: Connect the input devices (such as sensors) to the input modules of the PLC. Make sure to match the input type (e.g., digital or analog) of the device with the input module.
- Output Modules: Connect the output devices (such as relays or motors) to the output modules of the PLC. Again, ensure that the output type and rating of the module match the requirements of the device.
4. Software Configuration
Once the hardware is installed and wired, it's time to configure the software.
Install and Open the Programming Software
- TIA Portal Installation: If you haven't already, install the TIA Portal software on your computer. Follow the installation wizard's instructions.
- Open the Project: Create a new project in TIA Portal or open an existing one if you're using a pre - developed program.
Configure the PLC
- Hardware Configuration: In the TIA Portal, add the PLC and its modules to the hardware configuration. Select the correct module types and assign the appropriate addresses.
- Network Configuration: Configure the network settings of the PLC, such as the IP address. Make sure the PLC can communicate with other devices on the network.
- Programming: Write the control program for the PLC using the programming languages supported by TIA Portal, such as Ladder Logic or Structured Text.
5. Testing the PLC
After the installation and configuration are complete, it's time to test the PLC.
Power - on Test
- Initial Power - up: Turn on the power supply to the PLC and check if the power LED lights up. This indicates that the PLC is receiving power.
- Diagnostic LEDs: Check the diagnostic LEDs on the PLC and its modules. These LEDs can provide information about the status of the modules, such as errors or faults.
Communication Test
- Ping Test: If the PLC is connected to a network, perform a ping test from your computer to the PLC's IP address. A successful ping indicates that the network communication is working.
- Data Exchange Test: Use the programming software to exchange data with the PLC. For example, you can read the input values or write to the output values to verify the communication.
Functional Test
- Input and Output Testing: Use the input devices to send signals to the PLC and observe the output devices. Make sure the PLC responds correctly to the input signals.
- Program Execution Test: Run the control program on the PLC and verify that it performs the intended functions.
6. Troubleshooting
Even with careful installation and testing, you may encounter some issues. Here are some common problems and their solutions.
Communication Problems
- Check the Cables: Make sure all the communication cables are properly connected and not damaged.
- Verify the IP Settings: Double - check the IP addresses of the PLC and other network devices.
Power Problems
- Check the Power Supply: Ensure that the power supply is providing the correct voltage and that the connections are secure.
- Inspect the Fuses: If there are fuses in the power supply or the PLC, check if they are blown.
Programming Errors
- Syntax Errors: Review the control program for syntax errors. The programming software usually provides error messages to help you identify the problem.
- Logic Errors: Check the logic of the program to ensure that it is performing the intended functions.
7. Conclusion
Installing a Siemens PLC is a multi - step process that requires careful planning, attention to detail, and knowledge of both hardware and software. By following the steps outlined in this blog post, you can ensure a successful installation.
If you're in the process of planning a PLC installation or need more information about Siemens PLCs, we're here to help. As a Siemens PLC supplier, we offer a wide range of products and services to meet your industrial automation needs. Whether you need assistance with product selection, installation guidance, or troubleshooting, our team of experts is ready to support you. Contact us to start a discussion about your requirements and let's work together to find the best solutions for your project.
References
- Siemens PLC User Manuals
- TIA Portal Documentation


