


As a supplier of Mitsubishi HMI (Human-Machine Interface) products, I've witnessed firsthand the transformative impact these devices can have on industrial automation. Mitsubishi HMIs are renowned for their reliability, user - friendly interfaces, and advanced functionality. However, to truly unlock their potential, integrating them with other automation equipment is essential. In this blog, I'll share some insights on how to achieve seamless integration of Mitsubishi HMI with other automation devices.
Understanding the Basics of Mitsubishi HMI
Before delving into the integration process, it's crucial to have a solid understanding of Mitsubishi HMIs. These interfaces serve as the bridge between operators and complex industrial machinery. They allow users to monitor and control various processes, view real - time data, and troubleshoot issues efficiently.
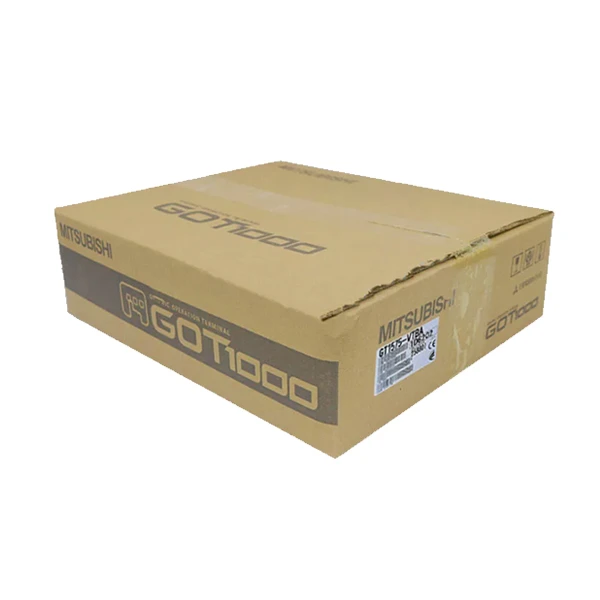
For example, the Mitsubishi GT1575 - VTBA is a high - performance HMI that offers a large, high - resolution touchscreen display. It is suitable for applications where detailed visualizations and intuitive control are required. On the other hand, the Mitsubishi GT2512 - STBD HMI provides advanced communication capabilities, making it ideal for integration with a wide range of automation equipment. The MITSUBISHI HMI GT1055 - QSBD is a compact and cost - effective option, perfect for smaller - scale automation projects.

Step 1: Define Your Integration Goals
The first step in integrating Mitsubishi HMI with other automation equipment is to clearly define your goals. What do you want to achieve through this integration? Are you looking to improve process efficiency, enhance data collection and analysis, or increase operator safety?
For instance, if your goal is to improve process efficiency, you might want to integrate the HMI with programmable logic controllers (PLCs) to streamline operations. If data collection is your priority, you could focus on integrating the HMI with sensors and data loggers. By having well - defined goals, you can make more informed decisions throughout the integration process.
Step 2: Select Compatible Automation Equipment
Not all automation equipment is compatible with Mitsubishi HMIs. Therefore, it's essential to select devices that are designed to work together. When choosing equipment, consider factors such as communication protocols, electrical specifications, and software compatibility.
Most Mitsubishi HMIs support common communication protocols such as Modbus, Ethernet/IP, and Profibus. When selecting other automation equipment, ensure that it also supports these protocols. For example, if you're integrating the HMI with a PLC, make sure the PLC can communicate using the same protocol as the HMI.
In addition to communication protocols, pay attention to electrical specifications. Ensure that the power requirements, signal levels, and grounding requirements of all devices are compatible. Software compatibility is also crucial. The HMI software should be able to communicate with and control the other automation equipment effectively.
Step 3: Plan the Communication Architecture
Once you've selected the compatible automation equipment, it's time to plan the communication architecture. This involves determining how the HMI will communicate with the other devices. There are several ways to establish communication, including direct connection, network connection, and wireless connection.
A direct connection is the simplest form of communication. It involves connecting the HMI directly to the other automation equipment using cables. This method is suitable for small - scale applications where the devices are located in close proximity.
A network connection, on the other hand, allows multiple devices to communicate over a local area network (LAN) or a wide area network (WAN). This is a more flexible option, especially for larger - scale applications where the devices are spread out. Ethernet is a common network protocol used for this purpose.
Wireless connection is becoming increasingly popular in industrial automation. It offers the advantage of mobility and flexibility. However, it also requires careful consideration of factors such as signal strength, interference, and security.
Step 4: Configure the HMI and Automation Equipment
After planning the communication architecture, you need to configure the HMI and the other automation equipment. This involves setting up the communication parameters, defining the data exchange format, and programming the control logic.
To configure the communication parameters, you'll need to enter the appropriate settings for the communication protocol you've chosen. This may include the IP address, port number, and baud rate. You'll also need to define the data exchange format. This determines how the data will be transmitted and received between the HMI and the other devices.
Programming the control logic is another important step. This involves creating the programs that will control the operations of the automation equipment. The HMI software usually provides a programming environment where you can create and edit these programs. You can use functions such as buttons, sliders, and graphs to create an intuitive user interface for the operators.
Step 5: Test the Integration
Once you've configured the HMI and the automation equipment, it's time to test the integration. This involves verifying that the HMI can communicate with the other devices and that the control logic is working correctly.
Start by performing basic communication tests. Check if the HMI can send and receive data from the other devices. You can use diagnostic tools provided by the HMI software to monitor the communication status.
Next, test the control logic. Operate the HMI and observe how the automation equipment responds. Check if the functions such as start, stop, and speed control are working as expected. If there are any issues, you'll need to troubleshoot and make the necessary adjustments.
Step 6: Implement and Maintain the Integration
After successful testing, you can implement the integration in the actual industrial environment. Make sure to follow all safety procedures and guidelines during the installation process.
Once the integration is implemented, it's important to maintain it regularly. This involves monitoring the performance of the system, updating the software, and replacing any faulty components. Regular maintenance can help ensure the long - term reliability and efficiency of the integrated system.
Conclusion
Integrating Mitsubishi HMI with other automation equipment can bring significant benefits to industrial operations. By following the steps outlined in this blog, you can achieve seamless integration and unlock the full potential of your automation system.
If you're interested in purchasing Mitsubishi HMIs or need assistance with the integration process, please feel free to contact us. We have a team of experts who can provide you with professional advice and support. Let's work together to enhance your industrial automation capabilities.
References
- Mitsubishi Electric Automation, Inc. "Mitsubishi HMI User Manuals."
- Industrial Automation Handbook, various editions.
- Technical papers on industrial communication protocols and automation system integration.


