


Hey there! As a supplier of Mitsubishi HMI (Human-Machine Interface) products, I often get asked about the installation requirements for these nifty devices. So, I thought I'd put together a blog post to share all the essential info.
First off, let's talk about the physical environment. Mitsubishi HMIs are pretty robust, but they still need a suitable place to work their magic. The temperature is a biggie. You should install them in an area where the temperature ranges from 0°C to 50°C. If it gets too hot, the components inside the HMI can overheat, which can lead to malfunctions and a shorter lifespan. On the flip side, if it's too cold, the display might not work as well, and the touch - screen responsiveness could be affected.
Humidity is another important factor. The relative humidity should be between 10% and 90% (non - condensing). Condensation can cause all sorts of problems, like short - circuits and corrosion. So, make sure the area where you're installing the HMI is well - ventilated and doesn't have any issues with moisture buildup.
When it comes to the mounting location, you've got to be strategic. The HMI should be installed in a place where it's easily accessible for operators. You don't want them having to stretch or contort themselves just to interact with it. Also, keep it away from direct sunlight. Sunlight can cause glare on the screen, making it difficult to see what's going on. And over time, the heat from the sun can damage the display.
Now, let's move on to the electrical requirements. Mitsubishi HMIs need a stable power supply. Most of them operate on a DC power source, typically 24V. You need to make sure that the power supply you're using can provide a clean and consistent voltage. Any fluctuations in the power can cause the HMI to behave erratically or even shut down.
It's also a good idea to use a proper power cable. The cable should be of the right gauge to handle the current requirements of the HMI. A thin or damaged cable can lead to voltage drops, which can affect the performance of the device. And don't forget to use a surge protector. Electrical surges can come from all sorts of sources, like lightning strikes or power outages, and they can fry your HMI in an instant. A surge protector can help safeguard your investment.
In terms of connectivity, Mitsubishi HMIs can be connected to various devices, like PLCs (Programmable Logic Controllers). For communication, you'll need to use the appropriate cables and protocols. Ethernet is a common choice for high - speed communication. Make sure the network you're connecting the HMI to is stable and secure. You don't want any interference or unauthorized access to the HMI's data.
If you're using a serial communication port, like RS - 232 or RS - 485, you need to configure the communication settings correctly. This includes things like baud rate, parity, and data bits. Incorrect settings can result in communication errors, and you won't be able to get the data flowing between the HMI and other devices.
Let's take a look at some specific Mitsubishi HMI models and their installation quirks. The Mitsubishi GOT 1000 GT1695M - XTBA is a great - looking and high - performance HMI. It has a large display, which means it needs a bit more space for mounting. When installing it, make sure the wall or panel where you're mounting it is sturdy enough to support its weight.
The MITSUBISHI GT1662 - VNBA Touch Screen is a compact option. However, just because it's small doesn't mean you can ignore the installation rules. It still needs a proper power supply and good ventilation. Since it's a touch - screen model, you should also make sure that the surface where it's mounted is flat to avoid any issues with the touch - sensitive screen.
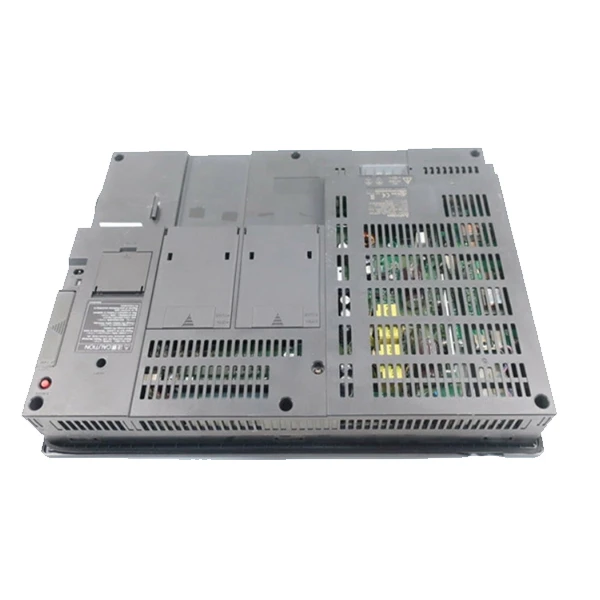
The Mitsubishi GT2710 - STBA GOT2000 is a more advanced and feature - rich HMI. It comes with a lot of built - in functions, which means it might generate more heat. So, proper ventilation is even more crucial for this model. You might want to consider installing additional cooling fans in the enclosure if necessary.
Before you start the installation process, it's always a good idea to read the user manual. The manual has all the detailed instructions and specifications for the specific HMI model you've purchased. It will also have some troubleshooting tips in case you run into any problems during the installation.
During the installation, make sure you follow all the safety procedures. Turn off the power before you start working on the HMI. Use insulated tools to avoid any electrical shocks. And if you're not sure about something, don't hesitate to ask for help. There are plenty of resources available online, or you can reach out to us as your supplier.
Once the HMI is installed, it's important to test it thoroughly. Check the display to make sure there are no dead pixels or color issues. Test the touch - screen functionality if it's a touch - screen model. And verify that the communication with other devices is working properly.
If you run into any problems during the installation or testing, don't worry. We're here to support you. As your Mitsubishi HMI supplier, we have a team of experts who can answer your questions and provide you with solutions. Whether it's a technical issue or just a query about the installation process, we've got your back.
So, if you're in the market for a Mitsubishi HMI or need help with installation, don't hesitate to get in touch. We can offer you the best products at competitive prices and provide top - notch after - sales support. Let's start a conversation about your HMI needs, and we'll work together to find the perfect solution for your application.

References:
- Mitsubishi Electric official product manuals
- Industry best practices for HMI installation and maintenance


