

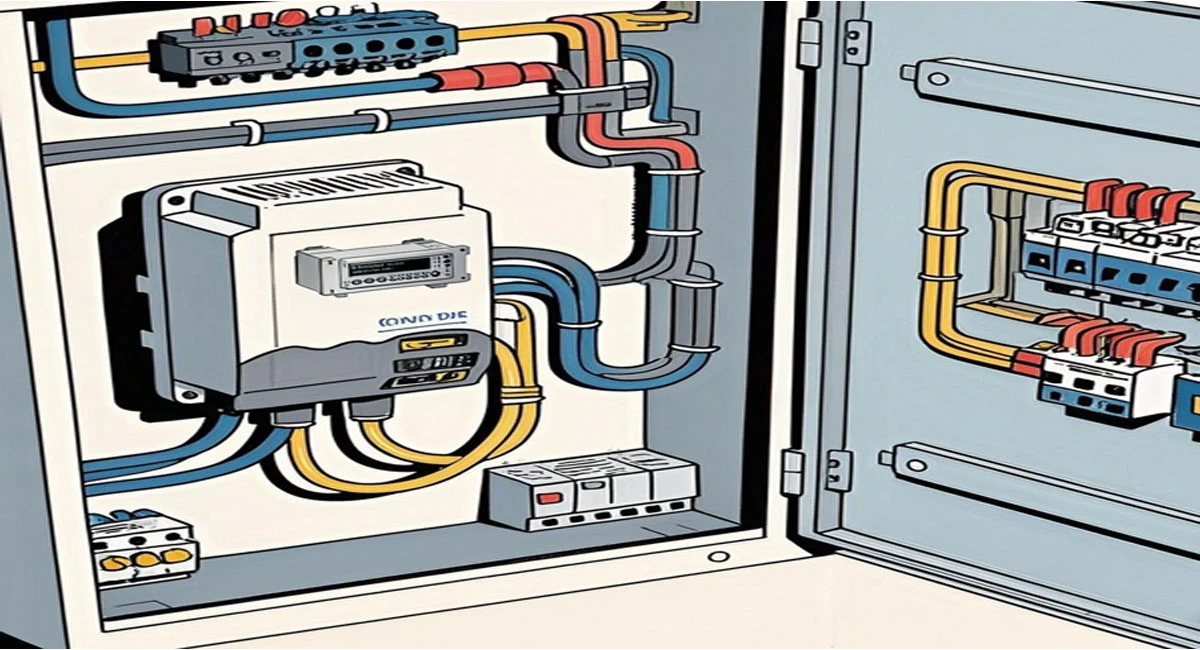
If you're just stepping into the world of industrial automation, the term "Allen Bradley drives" might sound a bit intimidating at first. Don't worry! This guide breaks down the basics of these essential devices in easy-to-understand language. Whether you're using them for a school project, a personal hobby, or manufacturing work, you'll finish with a solid foundation and the confidence to work with Allen Bradley drives.
What is the Allen-Bradley Drive?
Let's start with the basics. Allen-Bradley is a well-known brand under Rockwell Automation, a company specializing in industrial automation products. A "drive" (also known as a motor drive or variable frequency drive, VFD) is a device used to control the speed, torque, and direction of an electric motor. You can think of it like a dimmer switch for lighting - just as a dimmer adjusts the brightness of a light, a drive adjusts the operating state of a motor.
Allen-Bradley drives are widely used in manufacturing factories, production workshops, and even in everyday equipment like elevators and conveyor belts. They help save energy, improve machine efficiency, and enable precise control of motors.
Core Components of the Allen-Bradley Drive
To understand how the drive works, it's helpful to become familiar with its main components. Most drives have similar parts, and mastering these will help you handle any model of Allen-Bradley drive.
- Input Section: This is where the drive connects to the power supply (usually a standard outlet or industrial-grade power source). The input section converts AC (alternating current) to DC (direct current). This process is performed by a rectifier, which acts like a "gatekeeper," ensuring current flows in only one direction.
- DC Link: After the power is converted to DC, it is temporarily stored here. This part typically includes capacitors (which store electrical energy like tiny batteries) or inductors (which store energy through magnetic fields). It ensures stable delivery of electrical energy to the next stage of the drive.
- Output Section: This is where the "magic" happens! The output section converts the DC from the DC link back into AC. However, at this stage, the frequency (how often the current changes direction) and voltage can be adjusted. This process is performed by an inverter, which determines the motor's speed: higher frequency means faster rotation; lower frequency results in slower rotation.
- Control Panel or Interface: Most Allen-Bradley drives feature a small display or control panel for setting parameters such as maximum speed, acceleration/deceleration rates. The interface might be a keypad or touchscreen, and it can also connect to a computer or PLC (Programmable Logic Controller) for more advanced control.
- Cooling System: Since the drive generates heat during power conversion, it is equipped with fans or heatsinks for cooling. Proper operation of the cooling system is crucial for extending the lifespan of the drive.
Common Types of Allen-Bradley Drives
Allen-Bradley offers a variety of drives designed for different applications. Here are the most common types:
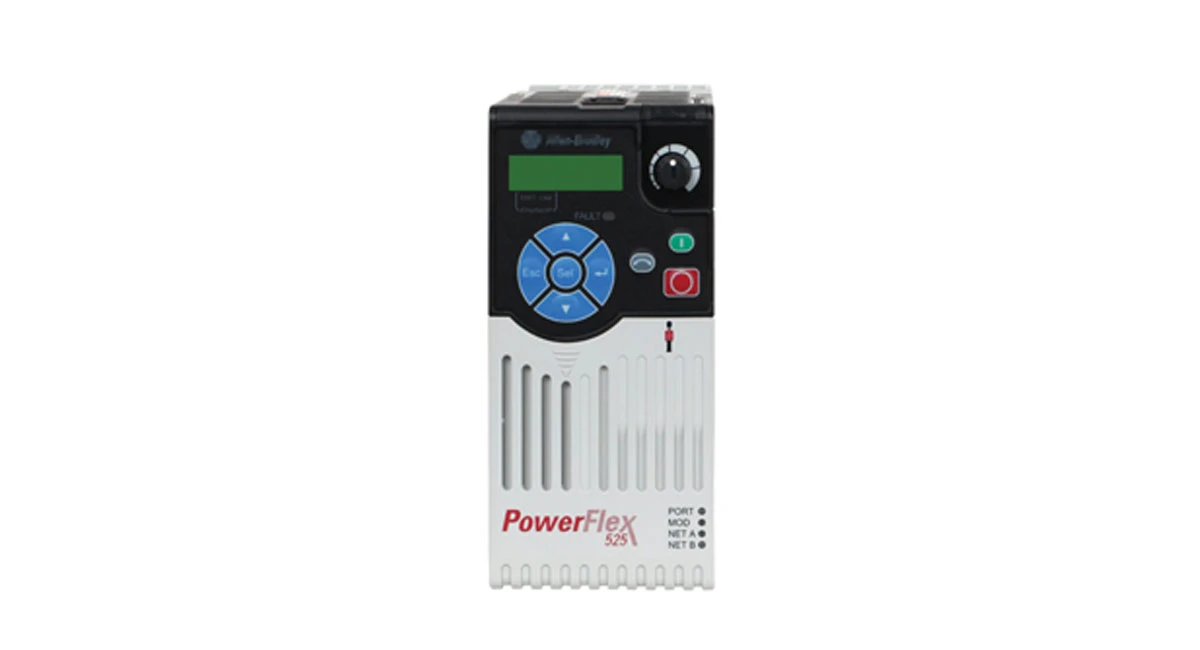
PowerFlex 525
AC Drives (VFD - Variable Frequency Drive): The most widely used type, suitable for AC motors (such as induction motors). It adjusts the motor speed by changing the supply frequency. Typical products include the PowerFlex series (like PowerFlex 525 or PowerFlex 753), commonly used in pumps, fans, conveyors, and other equipment requiring speed control.
DC Drives: Less common than AC drives, but used to control DC motors. They are suitable for older systems or applications requiring precise low-speed control. Allen-Bradley's MPL series is a representative example of DC drives.
Servo Drives: A more advanced type that works with servo motors, enabling high-precision positioning and torque control. Used in robotics, CNC machines, and other scenarios demanding high accuracy (such as small part assembly in manufacturing). The Kinetix series is a well-known example of servo drives.
How to Choose the Right Allen-Bradley Drive?
When selecting a drive, consider the following key factors:
Motor Type and Power
Is the motor AC, DC, or servo?
What is the motor's power rating (horsepower or kilowatts)? The drive's rated power should be at least matched to the motor.
Speed and Torque Requirements
Does the motor need to run at a constant speed, or is variable speed control required?
Is low-speed high torque needed (such as for heavy-duty conveyors), or smooth acceleration/deceleration (such as for fans)?
Environmental Conditions
What are the installation conditions? A clean office environment or a dusty, humid factory? Some drives offer ruggedization for harsh environments (pay attention to protection ratings like IP65 for dust and water resistance).
Control Method
Is manual control via keypad needed, or remote control via PC or PLC? Ensure the drive has the required communication ports (such as Ethernet, RS-485, or USB).
Budget
AC drives are generally more economical than servo drives. Balance the features and costs based on your application needs.
Installation and Setup of Allen-Bradley Drive
After selecting the right drive, follow these steps for installation (be sure to follow the manual and consult professionals if unsure):
1. Safety First!
Turn off all power before installation. Electrical work poses risks; do not operate blindly.
2. Mount the Drive
Install the drive on a stable surface (such as a control cabinet or rack), ensuring sufficient clearance around it for cooling (usually a few inches on each side).
3. Wiring
Power Input: Connect the AC power supply to the drive's input terminals (three-phase: L1, L2, L3; single-phase: L1, L2).
Motor Output: Connect the drive's output terminals (U, V, W) to the motor, ensuring proper wire gauge and insulation.
Control wiring: If connecting sensors, switches, or PLCs, connect control lines to the drive's Input/Output (I/O) terminals, labeling each wire for easy maintenance later.
4. Power On and Configure Basic Parameters
Carefully power on the drive and set basic parameters via the control panel:
- Motor parameters: Enter rated voltage, current, horsepower, speed, etc., to match the specific motor.
- Control mode: Choose the control method (e.g., manual keypad speed adjustment or external PLC control).
- Speed limits: Set minimum and maximum speeds to prevent abnormal operation.
5. Test the Drive
Start at a low speed (e.g., 20% of maximum) and check if the motor rotates in the correct direction. If reversed, swap any two output wires (such as U and V or V and W).
Gradually increase speed, listen for abnormal noises, and ensure smooth acceleration and deceleration.
Common Issue Troubleshooting
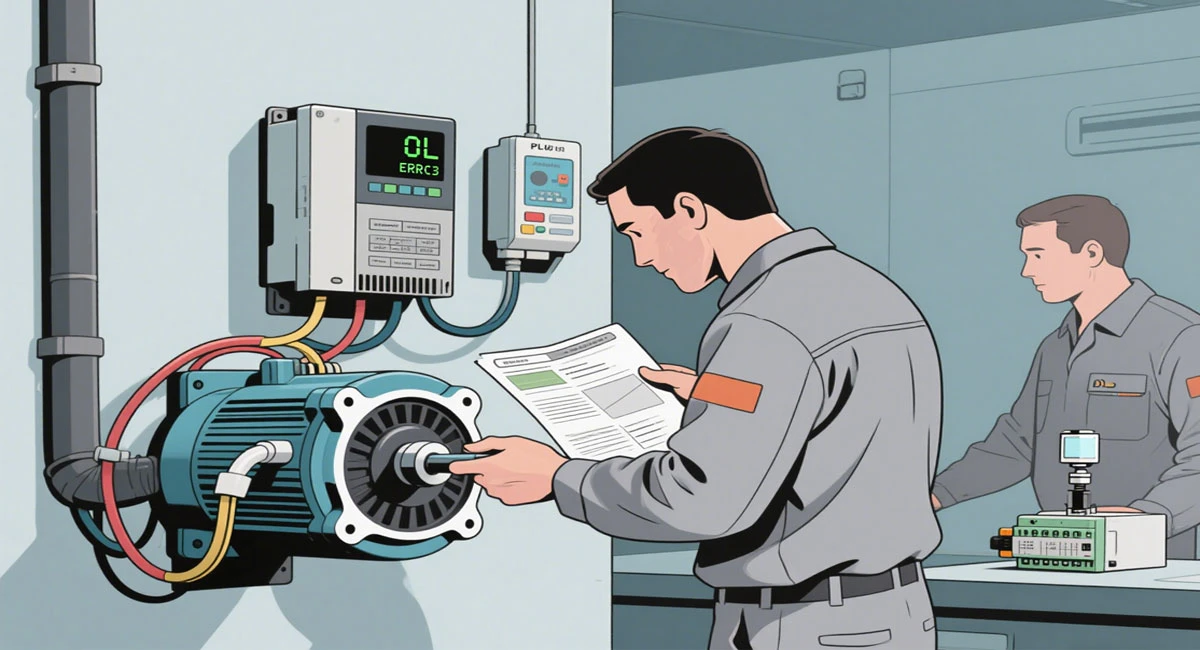
Even high-quality drives can encounter minor problems. Here are some solutions:
1. Drive Cannot Power On
Check the power supply: Is the circuit breaker turned on? Are the input wires connected correctly?
Check if the drive or power source has blown fuses; replace them promptly.
2. Motor Does Not Rotate
Inspect the output wires: Are they loose or disconnected?
Look at the error codes on the drive's display (e.g., "OL" indicates overload, "UV" indicates undervoltage). Refer to the manual for troubleshooting.
Is the control mode set correctly? If using external signals, verify that the PLC or sensor outputs are normal.
3.Motor Noise or Vibration
The motor may be unbalanced, or drive parameters may need adjustment. Try reducing the acceleration rate or check if the motor is securely mounted.
Ensure the motor's voltage and frequency ratings match those of the drive.
4. Overheating
Is the drive's fan operating? Clean dust from heat dissipation vents - blockages can cause overheating.
Confirm that the installation environment temperature does not exceed the rated value in the manual (typically up to 40°C / 104°F).
Best Practices for Using Allen-Bradley Drives
Follow these recommendations to extend the lifespan of your drive:
Read the Manual Thoroughly!
The manual included with the drive contains all the instructions for features and settings. Keep it well-preserved, especially the sections on error codes and advanced parameters.
Keep It Clean
Dust, dirt, and moisture can damage the drive. Regularly wipe the casing with a dry cloth, and when necessary (ensure safety), clean the interior with compressed air.
Update Firmware
Rockwell Automation frequently releases firmware updates to fix vulnerabilities or add new features. Regularly visit the official website to download updates and follow the instructions for installation.
Start from the Basics
When configuring, avoid rushing into advanced features. First, ensure the basic speed control functions work correctly, then explore fault resets, external control, or energy-saving modes.
Practice with Demo Software
If you're in the learning phase, consider using Rockwell's demo software (such as Connected Components Workbench). It allows practicing programming without physical equipment.
Conclusion
Allen-Bradley drives are powerful tools for controlling motors in industrial environments, but they are not difficult to master. By understanding their core components, types, and troubleshooting methods, you've taken an important step forward. Remember: progress step by step, don't hesitate to ask questions if unsure, and prioritize safety. Regardless of the project size, the skills you've gained will help you confidently advance in the field of industrial automation.
Now, put this knowledge into practice-find a drive, start configuring it, and witness how it makes motor operation smoother and more efficient. Wishing you an enjoyable learning experience!


