


Hey there! I'm a supplier of Siemens HMI, and I often get asked about setting up process alarms on Siemens HMI. It's a crucial aspect of using these HMIs, as process alarms help operators quickly identify and respond to issues in industrial processes. In this blog, I'll walk you through the steps to set up process alarms on Siemens HMI, so let's get started!
Understanding Process Alarms in Siemens HMI
Before we dive into the setup process, it's important to understand what process alarms are and why they're so important. Process alarms are notifications that are triggered when a specific condition in an industrial process is met. For example, if the temperature in a furnace exceeds a certain limit, an alarm can be set to go off, alerting the operator to take action.
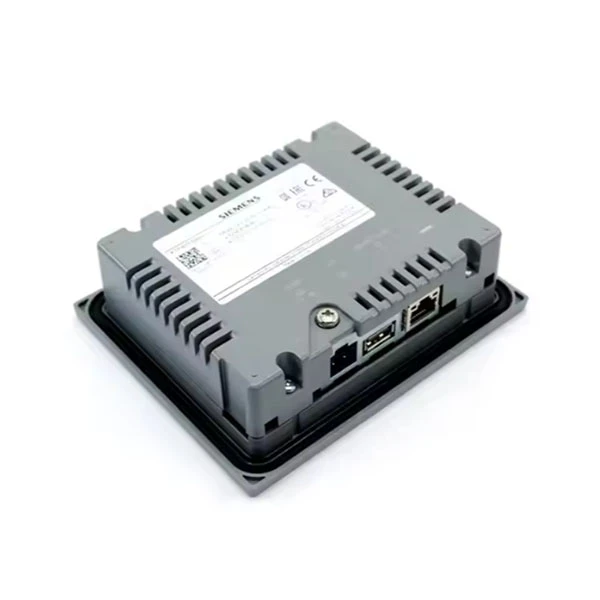
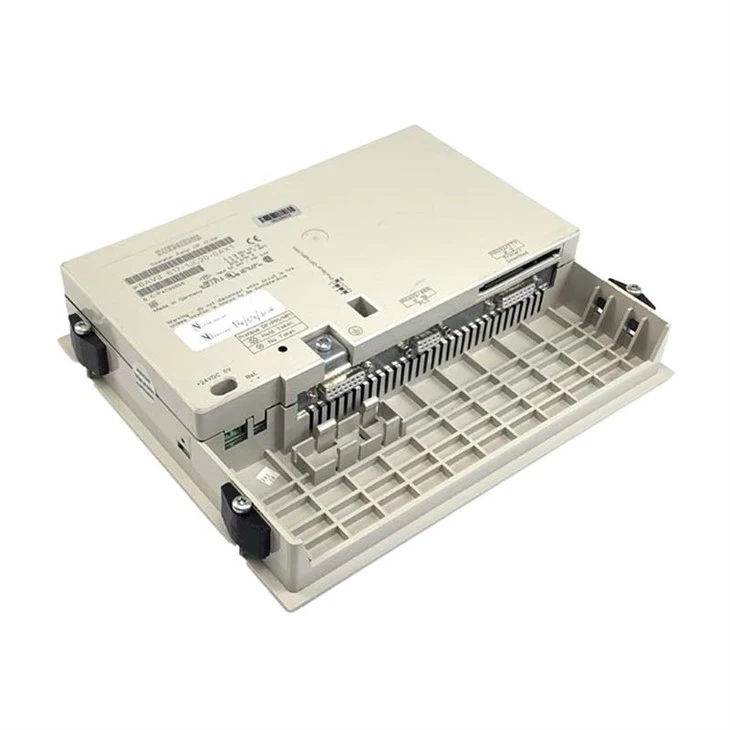
Siemens HMIs offer a wide range of alarm functions, including visual and auditory alerts, alarm logging, and alarm acknowledgment. These features make it easier for operators to manage and respond to alarms in a timely manner.
Step 1: Choose the Right Siemens HMI
The first step in setting up process alarms is to choose the right Siemens HMI for your application. Siemens offers a variety of HMIs, each with its own features and capabilities. Some of the popular models include the Siemens 6AV3617-1JC20-0AX1 OP17 DP, SIMATIC HMI KP1200 Comfort, and Siemens 6AV6648-0BE11-3AX0.
When choosing an HMI, consider factors such as the size of the display, the number of inputs and outputs, the communication interfaces, and the alarm management capabilities. Make sure the HMI you choose meets the requirements of your application.
Step 2: Configure the HMI for Alarm Management
Once you've chosen the right HMI, the next step is to configure it for alarm management. This involves setting up the alarm parameters, such as the alarm thresholds, the alarm priorities, and the alarm types.
To configure the alarm management settings, you'll need to use the Siemens WinCC flexible or TIA Portal software. These software tools allow you to create and edit alarm tags, define alarm conditions, and set up alarm actions.
Here's a general overview of the steps involved in configuring the HMI for alarm management:
- Create Alarm Tags: In the software, create tags for each alarm you want to monitor. These tags represent the variables or conditions that will trigger the alarms.
- Define Alarm Conditions: For each alarm tag, define the conditions that will trigger the alarm. This could be a specific value, a range of values, or a logical condition.
- Set Alarm Priorities: Assign a priority to each alarm. This helps operators prioritize which alarms to respond to first.
- Configure Alarm Types: Siemens HMIs support different types of alarms, such as limit alarms, deviation alarms, and status alarms. Choose the appropriate alarm type for each alarm tag.
- Set Alarm Actions: Define the actions that will be taken when an alarm is triggered. This could include displaying a message on the HMI, sending an email or SMS alert, or activating a relay output.
Step 3: Design the Alarm Screen
After configuring the alarm management settings, the next step is to design the alarm screen on the HMI. The alarm screen is where operators will view and manage the alarms.
When designing the alarm screen, keep the following tips in mind:
- Keep it Simple: The alarm screen should be easy to read and understand. Avoid cluttering the screen with too much information.
- Use Clear Icons and Colors: Use clear icons and colors to represent different types of alarms and alarm priorities. This makes it easier for operators to quickly identify the alarms.
- Provide Alarm Details: Include detailed information about each alarm, such as the alarm description, the current value, and the time the alarm was triggered.
- Enable Alarm Acknowledgment: Provide a way for operators to acknowledge the alarms. This helps keep track of which alarms have been addressed.
Step 4: Test the Alarm System
Once you've designed the alarm screen, it's important to test the alarm system to make sure it's working properly. This involves simulating different alarm conditions and verifying that the alarms are triggered and displayed correctly on the HMI.
To test the alarm system, follow these steps:
- Simulate Alarm Conditions: Use the software to simulate different alarm conditions, such as exceeding a limit or changing a status.
- Verify Alarm Triggering: Check that the alarms are triggered when the simulated conditions are met.
- Check Alarm Display: Make sure the alarms are displayed correctly on the HMI, including the alarm description, the current value, and the alarm priority.
- Test Alarm Acknowledgment: Try acknowledging the alarms to make sure the acknowledgment function is working properly.
Step 5: Train the Operators
Finally, it's important to train the operators on how to use the alarm system. This includes teaching them how to view and manage the alarms, how to acknowledge the alarms, and how to respond to different types of alarms.
Provide the operators with a user manual or training materials that explain the alarm system in detail. Conduct hands-on training sessions to give the operators practical experience using the alarm system.
Conclusion
Setting up process alarms on Siemens HMI is a relatively straightforward process, but it requires careful planning and configuration. By following the steps outlined in this blog, you can ensure that your Siemens HMI is configured to effectively monitor and manage process alarms.
If you have any questions or need further assistance with setting up process alarms on Siemens HMI, don't hesitate to reach out. As a Siemens HMI supplier, I'm here to help you find the right solution for your application. Whether you're looking to upgrade your existing HMI or implement a new alarm system, I can provide you with the expertise and support you need. Contact me to start a discussion about your requirements and explore the possibilities of enhancing your industrial processes with Siemens HMI alarms.
References
- Siemens WinCC flexible User Manual
- Siemens TIA Portal User Manual


