


Hey there! I'm an Omron PLC supplier, and today I'm gonna share with you how to use the filling machine control in an Omron PLC. It's a pretty cool topic, and I've got some hands - on experience that I think will be super helpful for you.
First off, let's talk about why Omron PLCs are a great choice for filling machine control. Omron has been in the game for a long time, and their PLCs are known for their reliability, flexibility, and user - friendly programming interfaces. Whether you're running a small - scale filling operation or a large industrial setup, Omron PLCs can handle the job.
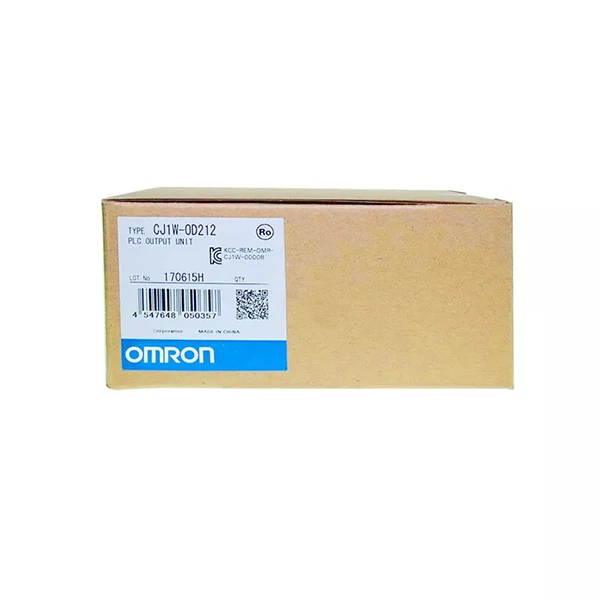
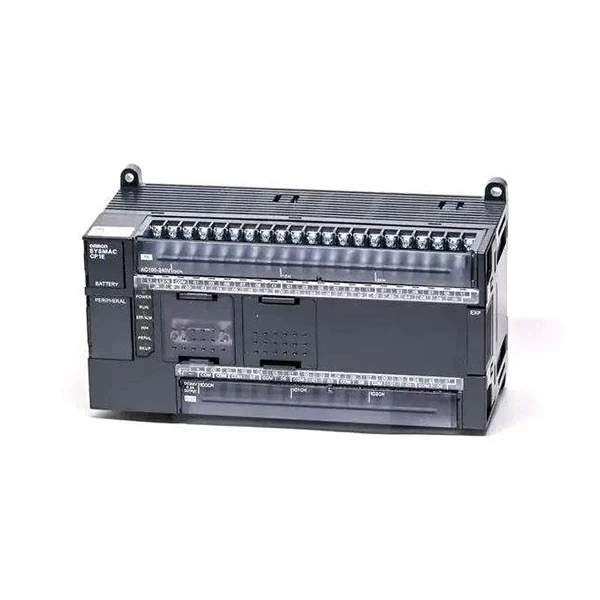
Now, I'll start by introducing some of the popular Omron PLC models that are often used for filling machine control. One of them is the Omron CP1E - N60SDR - A. This PLC is compact but packs a punch. It has a decent number of I/O points, which is great for controlling various aspects of a filling machine, like sensors, valves, and motors. Another option is the Omron CP1L - M40DR - A Programmable Controller. It's also very reliable and easy to program, making it a favorite among many filling machine operators. And for larger and more complex filling systems, the Omron CJ1W Series offers high - performance and expandable capabilities.
Step 1: Understanding the Filling Machine Process
Before you start programming the PLC, you need to have a clear understanding of how the filling machine works. A typical filling machine has several key components: a hopper to hold the product, a filling nozzle, sensors to detect the level of the product in the hopper and the position of the containers, and valves to control the flow of the product.
The basic process usually goes like this: First, the containers are fed into the filling area. Then, the sensors detect the presence of the containers. Once a container is in place, the PLC sends a signal to open the valve, allowing the product to flow from the hopper into the container. When the container is filled to the desired level, the sensors detect it, and the PLC sends a signal to close the valve. Finally, the filled container is removed from the filling area, and the process repeats.
Step 2: Wiring and I/O Configuration
Once you understand the filling machine process, it's time to wire the PLC to the various components of the filling machine. You need to connect the sensors, valves, and motors to the appropriate I/O points on the PLC.
For example, the sensors that detect the presence of containers and the level of the product in the hopper are usually connected to the input points of the PLC. These sensors send signals to the PLC, telling it when a container is in place or when the hopper needs to be refilled.
The valves and motors are connected to the output points of the PLC. The PLC sends signals to these output points to control the opening and closing of the valves and the operation of the motors.
When you're doing the wiring, make sure to follow the wiring diagrams provided by Omron. This will ensure that everything is connected correctly and that the PLC can communicate with the filling machine components effectively.
Step 3: Programming the PLC
Now comes the fun part - programming the PLC. Omron PLCs use ladder logic programming, which is a graphical programming language that's easy to understand, even if you're not a professional programmer.
Here's a basic example of how you can program the PLC for a simple filling machine:
- Initialization: First, you need to initialize the PLC. This includes setting the initial values of the internal registers and flags. For example, you might set a flag to indicate that the filling machine is ready to start.
- Container Detection: Use the input signals from the sensors to detect the presence of containers. When a container is detected, set a flag to indicate that filling can start.
- Valve Control: Once the container is detected, use the output signals to open the valve. You can use a timer to control the filling time. For example, if you know that it takes 5 seconds to fill a container, you can set a timer for 5 seconds. When the timer expires, send a signal to close the valve.
- Error Handling: You also need to include error - handling routines in your program. For example, if the sensor fails to detect a container or if the valve fails to open or close properly, the PLC should be able to detect the error and take appropriate action, like stopping the filling machine and sending an alarm.
Step 4: Testing and Debugging
After you've programmed the PLC, it's time to test the system. Start by running the filling machine in a test mode. Check if the sensors are working correctly, if the valves are opening and closing at the right times, and if the motors are operating as expected.
If you encounter any problems during the testing, you need to debug the program. You can use the programming software provided by Omron to monitor the values of the internal registers and flags. This will help you identify where the problem is and make the necessary adjustments to the program.
Step 5: Fine - Tuning and Optimization
Once the filling machine is working correctly, you can start fine - tuning and optimizing the system. This might involve adjusting the filling time, the flow rate of the product, or the position of the sensors.
For example, if you find that the containers are being overfilled or underfilled, you can adjust the filling time or the flow rate of the product. If the sensors are not detecting the containers accurately, you can adjust their position.
Tips and Tricks
- Use Simulation Tools: Omron provides simulation tools that allow you to test your PLC program without actually connecting it to the filling machine. This can save you a lot of time and effort, especially during the development phase.
- Keep Your Program Organized: As your filling machine becomes more complex, your PLC program will also become more complex. To make it easier to understand and maintain, keep your program organized. Use comments to explain what each part of the program does, and break the program into smaller sub - routines.
- Stay Up - to - Date with Omron's Updates: Omron is constantly improving its PLCs and programming software. Make sure to stay up - to - date with the latest updates, as they might include new features and bug fixes that can improve the performance of your filling machine control system.
Conclusion
Using an Omron PLC to control a filling machine is a great way to improve the efficiency and reliability of your filling operation. By following the steps outlined in this blog post, you can successfully program and operate a filling machine using an Omron PLC.
If you're interested in purchasing Omron PLCs for your filling machine control needs or have any questions about the programming and operation, feel free to reach out. I'm here to help you make the most of your filling machine control system.
References
- Omron PLC User Manuals
- Filling Machine Manufacturer's Documentation


