


Hey there! As an Omron HMI supplier, I've gotten tons of questions about how to connect an Omron HMI to a PC for programming. It's actually not as complicated as it might seem at first glance. In this blog, I'll walk you through the whole process step by step.
1. Get Your Tools Ready
Before you start connecting your Omron HMI to a PC, you need to make sure you have all the necessary tools and equipment. First off, you'll need an Omron HMI device. Some popular models we often deal with are the Omron NB5Q - TW00B, NS8 - TV01B - V2 Omron, and Omron NS10 - TV00B - V2 HMI. These HMIs are great for a wide range of industrial applications.
You'll also need a PC with the right software installed. Omron provides the Sysmac Studio or the NB Designers software, depending on the model of your HMI. You can download these from the official Omron website. Additionally, you'll need a communication cable. Usually, an Ethernet cable or a USB cable can do the job, depending on the HMI's available ports.
2. Install the Software
Once you've got your hands on the software, it's time to install it on your PC. The installation process is pretty straightforward. Just follow the on - screen instructions. Make sure you have administrative privileges on your PC, as you might need them to complete the installation.
After the installation is done, open the software. You might need to activate it using your license key if required. Don't worry; Omron usually provides the license details with the purchase of the HMI.
3. Check the HMI Settings
Before connecting the HMI to the PC, you need to configure some settings on the HMI itself. First, power on the HMI. Use the touch screen to navigate to the system settings menu. Look for the communication settings section.
If you're using an Ethernet connection, set the IP address of the HMI. Make sure it's in the same subnet as your PC. For example, if your PC's IP address is 192.168.1.100 with a subnet mask of 255.255.255.0, you can set the HMI's IP address to something like 192.168.1.101.
If you're using a USB connection, the HMI should automatically detect the connection. However, you might still need to select the appropriate communication protocol in the settings.
4. Connect the HMI to the PC
Now comes the fun part - connecting the HMI to the PC. If you're using an Ethernet cable, plug one end into the Ethernet port of the HMI and the other end into the Ethernet port of your PC. If you're using a USB cable, just plug it into the USB port of both the HMI and the PC.
Once the physical connection is made, go back to the software on your PC. In the software, look for the option to search for connected devices. The software will start scanning the network or the USB ports to find the HMI.
5. Establish the Connection
After the software has found the HMI, you need to establish a connection. Select the detected HMI in the software and click on the connect button. The software will then try to communicate with the HMI.
If everything goes well, you'll see a confirmation message indicating that the connection has been established. If you encounter any issues, double - check the HMI settings, the cable connections, and the software configuration.
6. Start Programming
Once the connection is established, you're ready to start programming your HMI. In the software, you can create new projects or open existing ones. You can design the user interface of the HMI, add buttons, displays, and other components.
You can also set up the communication between the HMI and other devices, such as PLCs. Omron's software provides a user - friendly environment for programming, even if you're new to HMI programming.
Troubleshooting Tips
Sometimes, things might not go as smoothly as planned. Here are some common issues and how to fix them:
- Connection Failed: If the software can't connect to the HMI, check the cable connections first. Make sure the cable is properly plugged in and not damaged. Also, check the IP address settings on both the HMI and the PC.
- Software Errors: If you're getting error messages in the software, try restarting the software and the PC. If the problem persists, check for software updates. Omron often releases updates to fix bugs and improve performance.
- HMI Not Detected: If the software can't detect the HMI, make sure the HMI is powered on and the communication settings are correct. You might also need to check if there are any firewalls or security software on your PC blocking the communication.
Why Choose Our Omron HMIs
As a supplier, we offer high - quality Omron HMIs at competitive prices. Our team of experts can provide you with technical support and guidance, whether you're a beginner or an experienced user. We have a wide range of models in stock, so you can choose the one that best suits your needs.

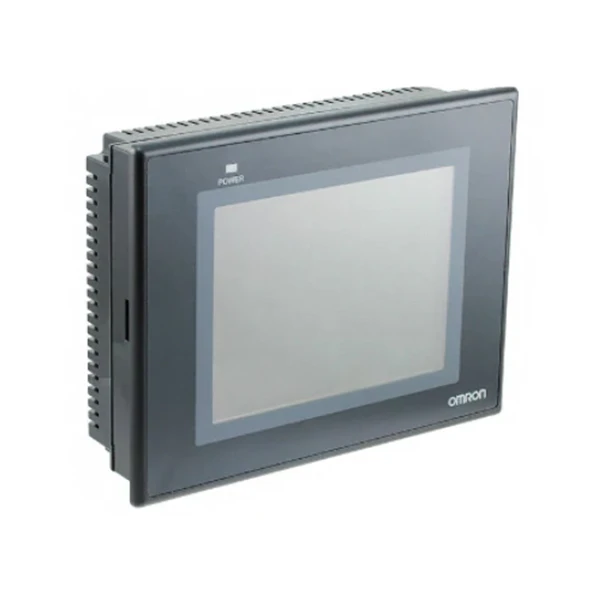
If you're interested in purchasing an Omron HMI or have any questions about the connection process or programming, feel free to reach out to us. We're here to help you make the most of your Omron HMI.
Conclusion
Connecting an Omron HMI to a PC for programming is a relatively simple process if you follow the steps outlined above. With the right tools, software, and a bit of patience, you'll be able to create amazing HMI applications in no time.
If you're looking to take your industrial automation to the next level, an Omron HMI is a great choice. And if you need a reliable supplier, look no further. Contact us today to start the procurement process and get the best Omron HMI solutions for your business.
References
- Omron official documentation
- Sysmac Studio user guide
- NB Designers user manual


